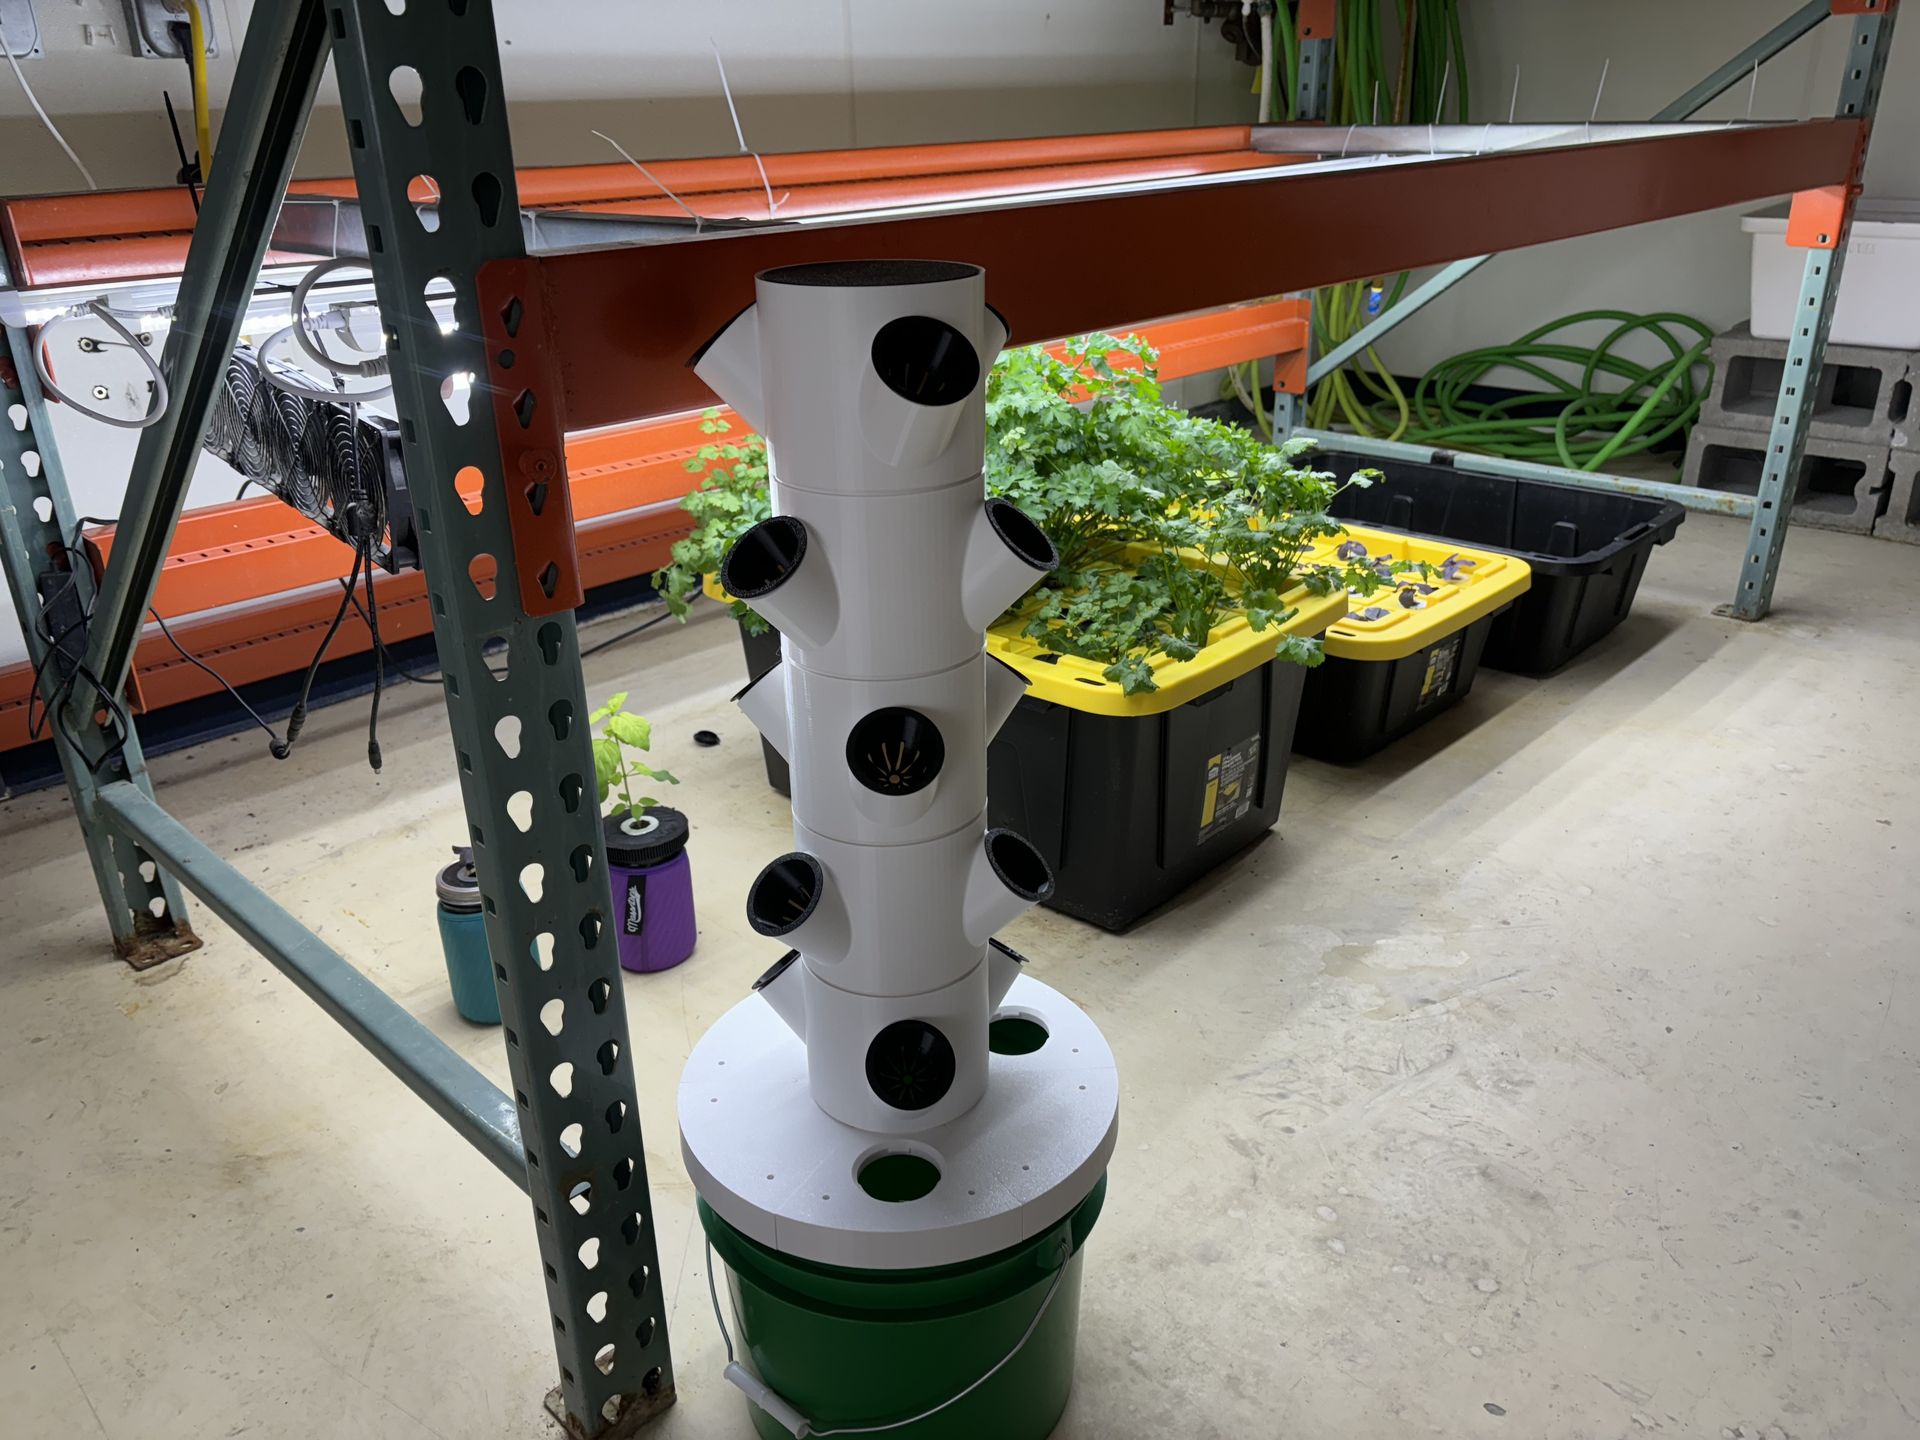
Hydroponics has always fascinated me—especially the idea of growing a ton of food in a compact space. But when I looked at commercial hydroponic tower systems, I noticed a major problem: they’re expensive! Most pre-built towers cost anywhere from $100 to $500, and I knew I could do better. So, I set out to 3D print my own hydroponic tower system.
The result? A fully functional, scalable hydroponic tower for only $40. Here’s how I did it.

What You’ll Need
The system is designed to be simple, efficient, and easy to scale, and combines elements of various makers into one precise system. Here’s what I used to build it:
- 5-Gallon Bucket – Acts as the reservoir for the nutrient solution.
- 50mm Net Cups (3 per section) – These hold the plants and fit snugly into the tower.
- 80 GPH Water Pump – Moves water up through the system.
- 5-Gallon Bucket Lid – You can either cut a standard lid or 3D print one like I did.
- Shower Head (3D Printed) – Distributes water evenly across the plants.
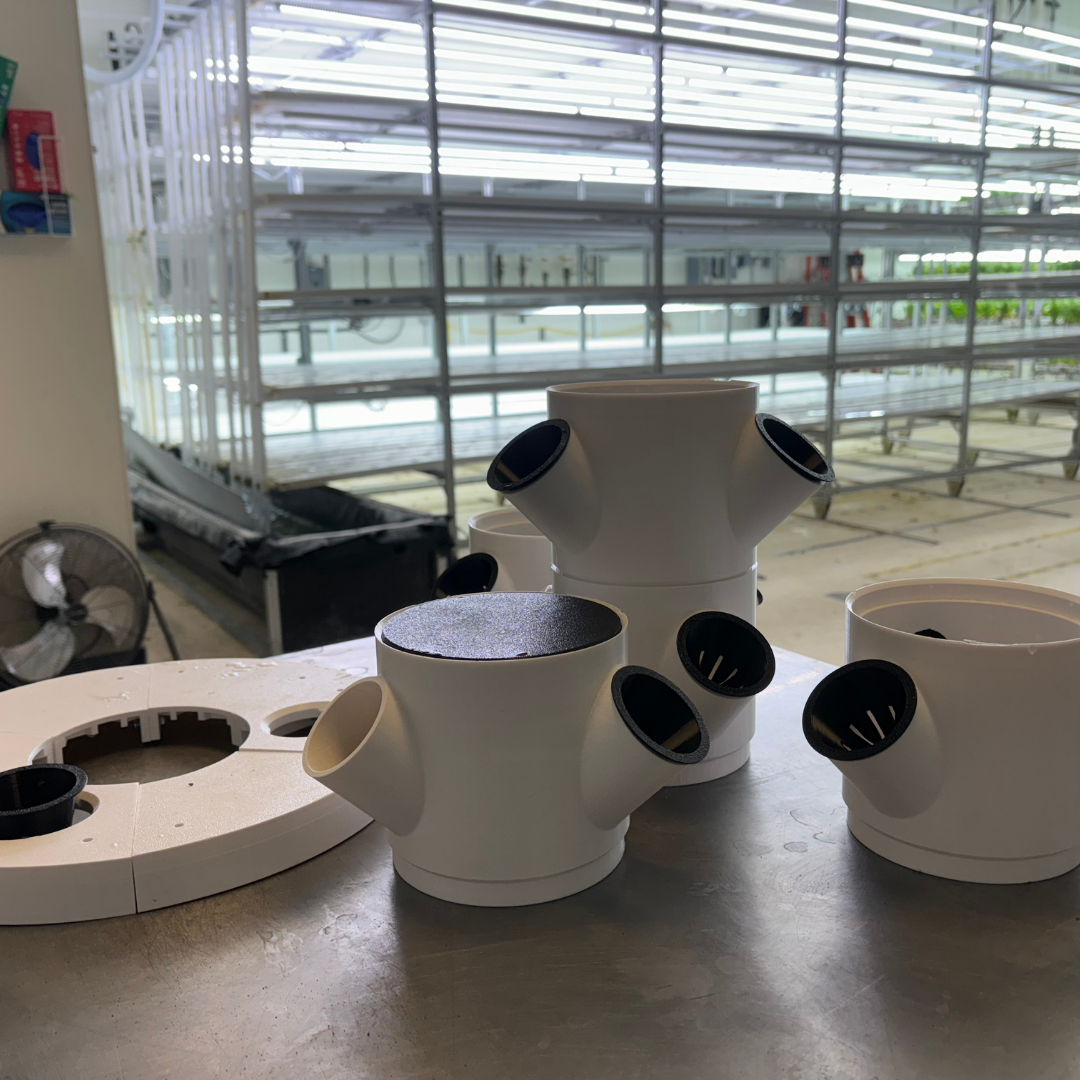
- Main Tower Sections (3D Printed, Stackable) – Each section holds three plants and can be stacked as high as needed.
- Plumber’s Putty – Used to seal each tower section together to prevent leaks.

If you have a 3D printer, and wish to print this tower system for yourself, the STL files can be downloaded at links below.
Special thanks to the makers for their open source contributions that were used in this build.
Printing and Assembly
3D Printing the Tower
Each tower section is designed to hold three net cups and fits perfectly onto the section below it. To optimize plant spacing, rotate each printed section 60 degrees when stacking to prevent plant overcrowding.
If you’re printing your own parts, I recommend using PETG for durability and 0.2mm layer height for a strong, watertight print. You’ll also want to use 100% infill for any water-exposed parts like the shower head.
Building the System
- Prepare the Bucket – Cut a hole in the bucket lid for the tower to fit through (or use a printed lid).
- Attach the Pump – Place the 80 GPH pump inside the bucket and connect tubing that runs up through the center of the tower.
- Stack the Tower Sections – Use plumber’s putty to seal each section together. This prevents leaks while keeping the system modular.
- Install the Shower Head – Attach the 3D-printed shower head to the tubing at the top. This distributes water evenly over the plants.
- Insert the Net Cups – Add plants and fill the bucket with a nutrient solution.
Why This System Works
- Scalability – Add as many sections as you want to grow more plants.
- Cost-Effective – At just $40, this beats almost any commercial alternative.
- Modular Design – Need more space? Just print more sections and stack them up.
- Easy Maintenance – The simple design allows for quick disassembly and cleaning.
Want to learn more about growing affordable produce with hydroponics? Join the Seeded Ag newsletter for insights delivered straight to your inbox!
Also, to make it even easier for others to try, we’re offering a limited run of pre-printed parts for sale. This is a test run, and we can’t guarantee they’ll be available forever—so if you’re interested, Click Here To Get Yours!
A huge thank you to the makers who open-sourced their designs, which helped inspire and improve this build. The open-source community makes projects like this possible, and we’re excited to contribute back.
And of course, thank you for reading! If you decide to build your own or try our printed version, let us know—we’d love to see how you put it to use. Happy growing!